
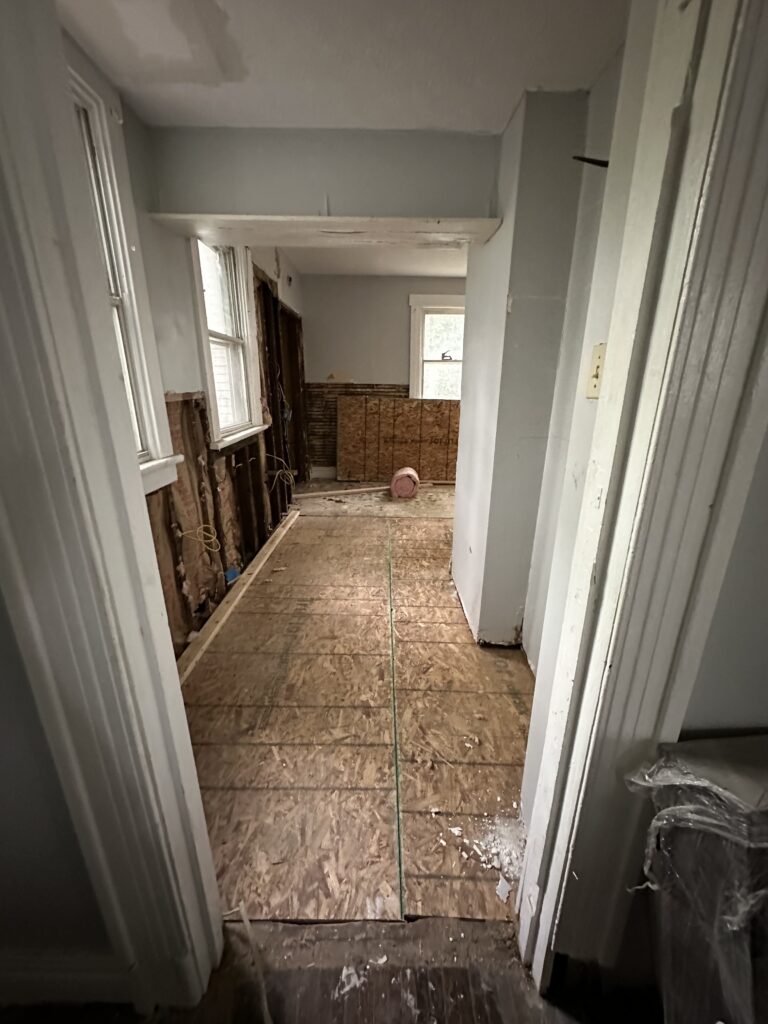
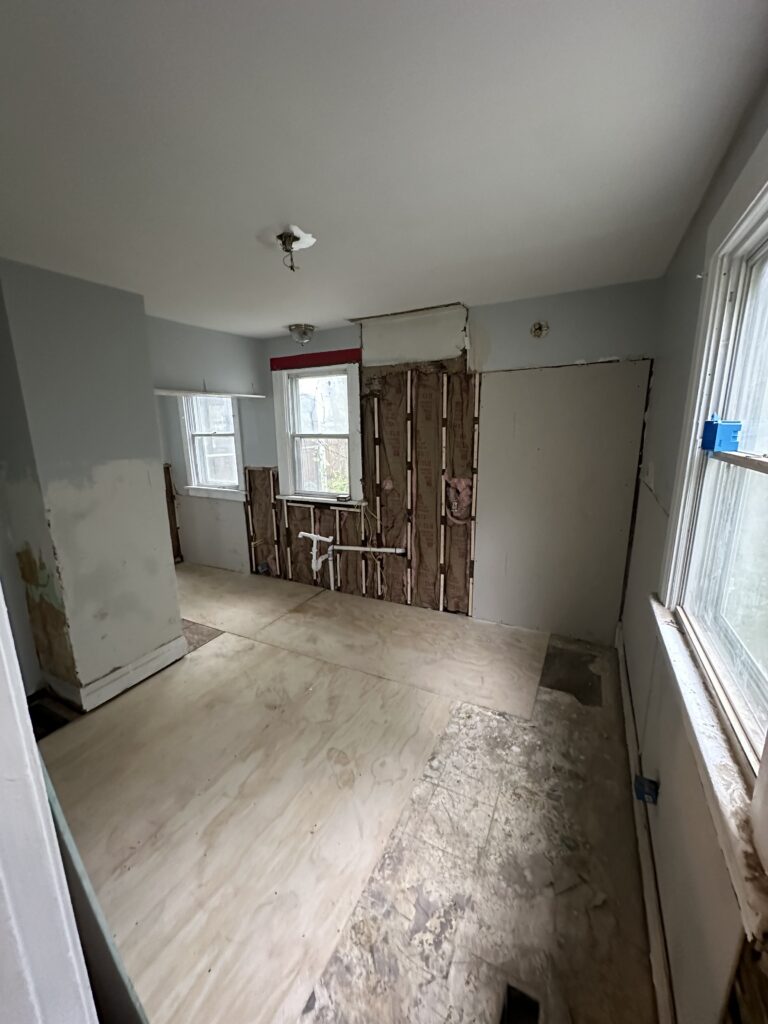
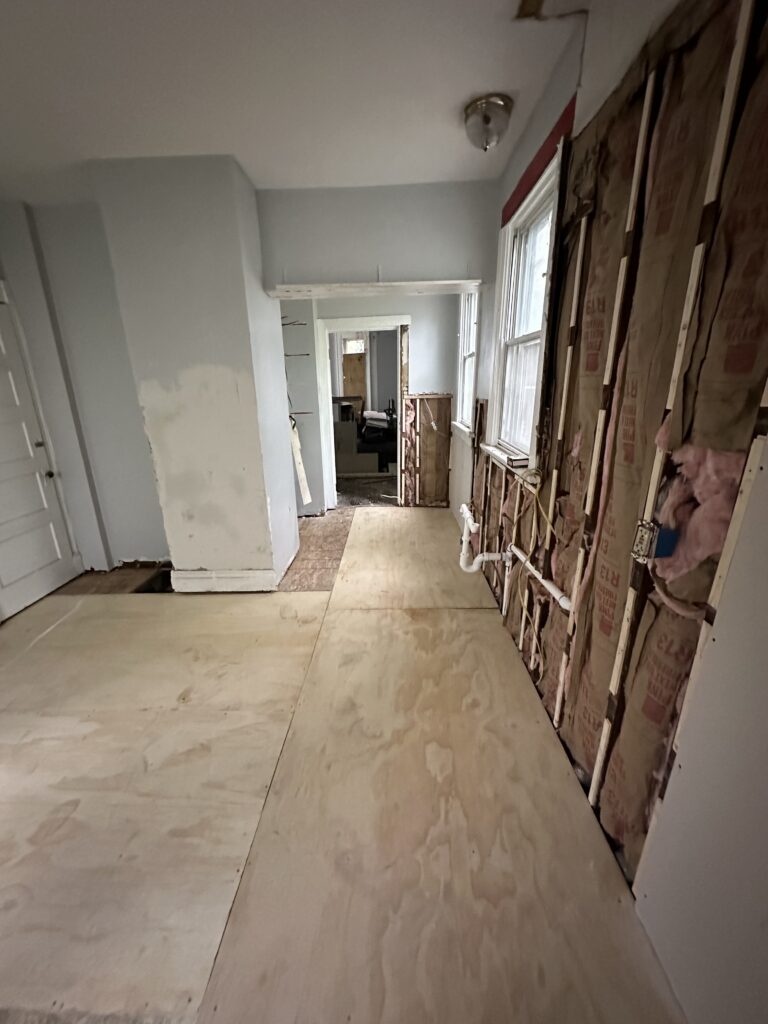
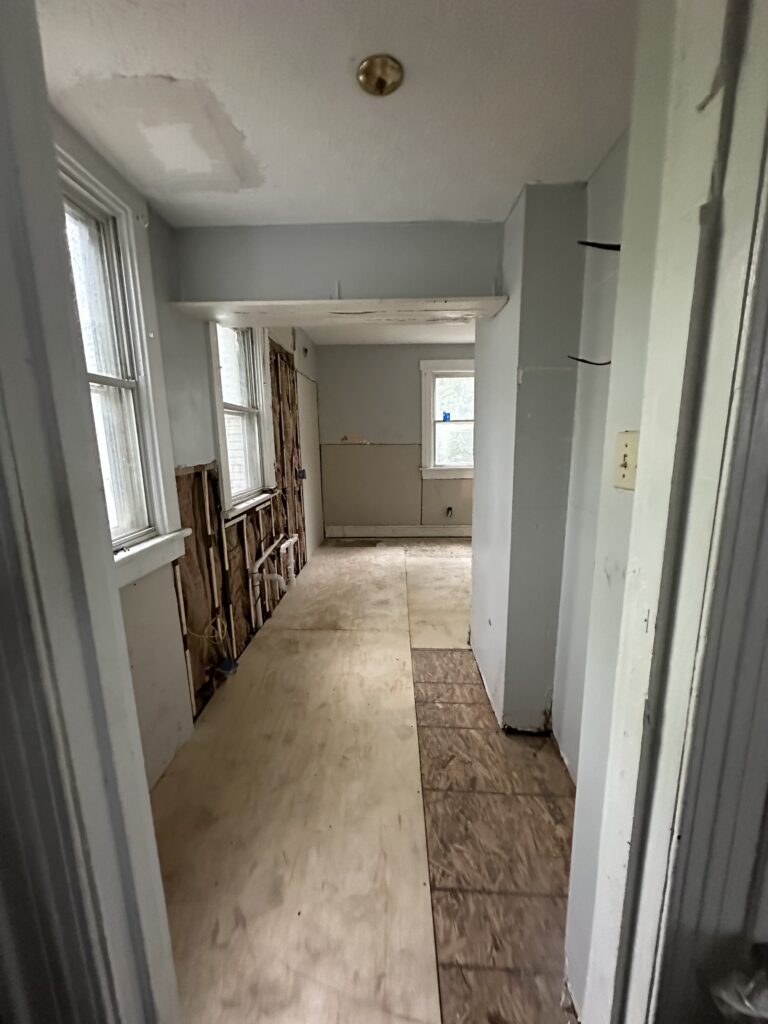
A kitchen floor in an older home taken out layer by layer, down to the joists, and rebuilt wall to wall with a new tongue-and-groove Douglas fir subfloor and lauan underlayment, ready for finish flooring.
At a Glance
| Scope | Flooring demolition, subfloor removal, framing inspection, new tongue-and-groove Douglas fir subfloor, lauan underlayment |
| Our role | Licensed builder |
The Challenge
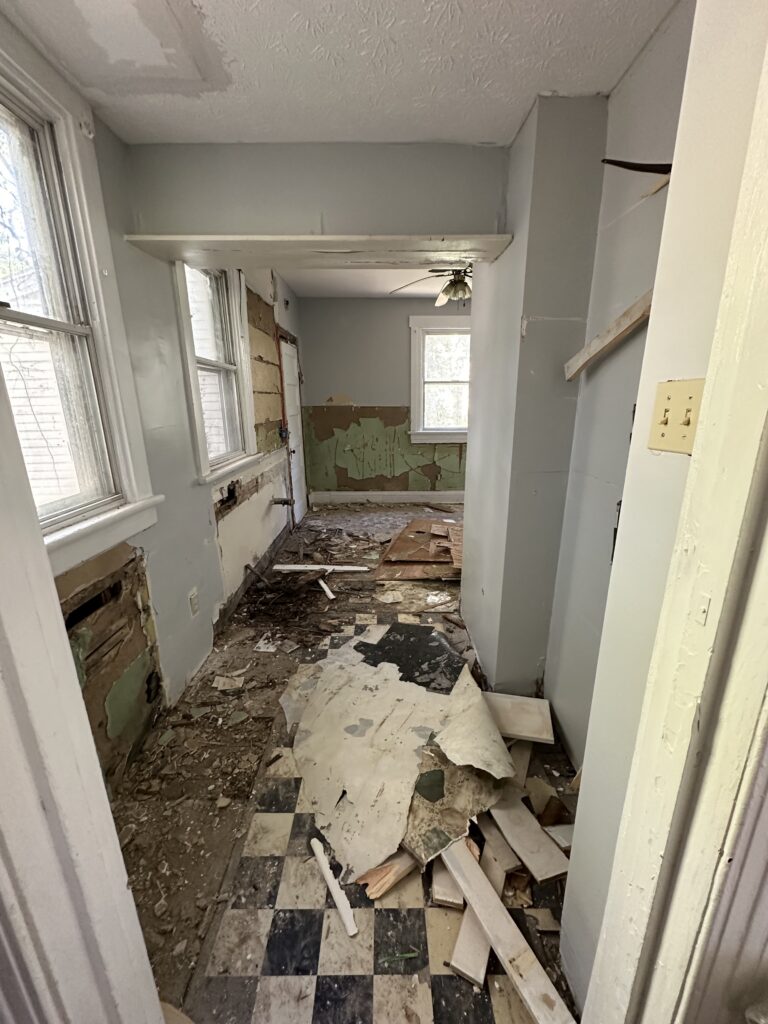
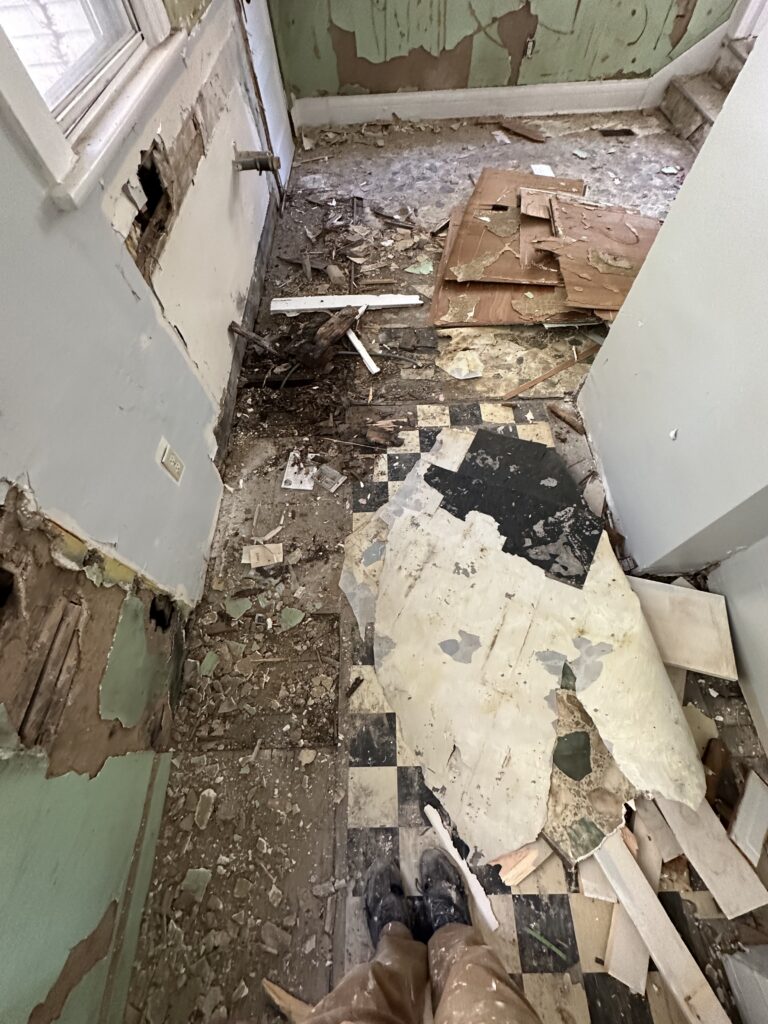
The kitchen had decades of flooring stacked on top of each other, with a checkerboard tile on top and soft, uneven spots underneath. Putting new flooring over that would only hide the problem, so we took the floor out completely to see what was going on below.
The Work
- Pulled up the old tile and every layer of flooring underneath it
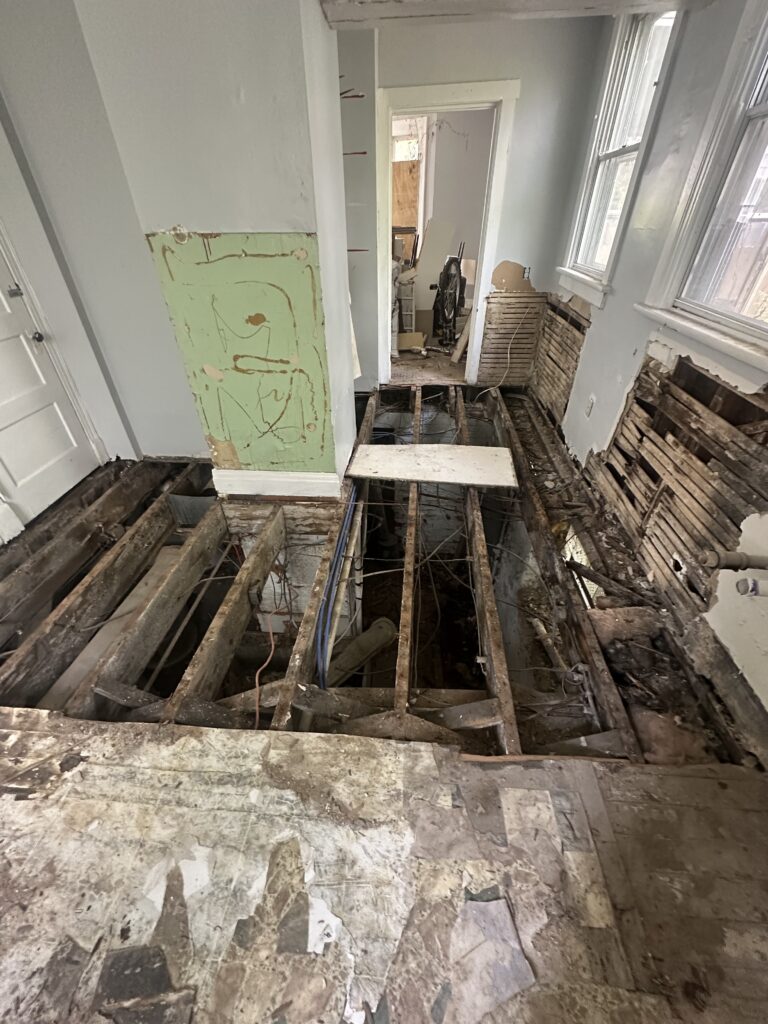
- Cut out the worn and damaged subfloor to expose the floor joists
- Checked the framing with the floor open before closing it back up
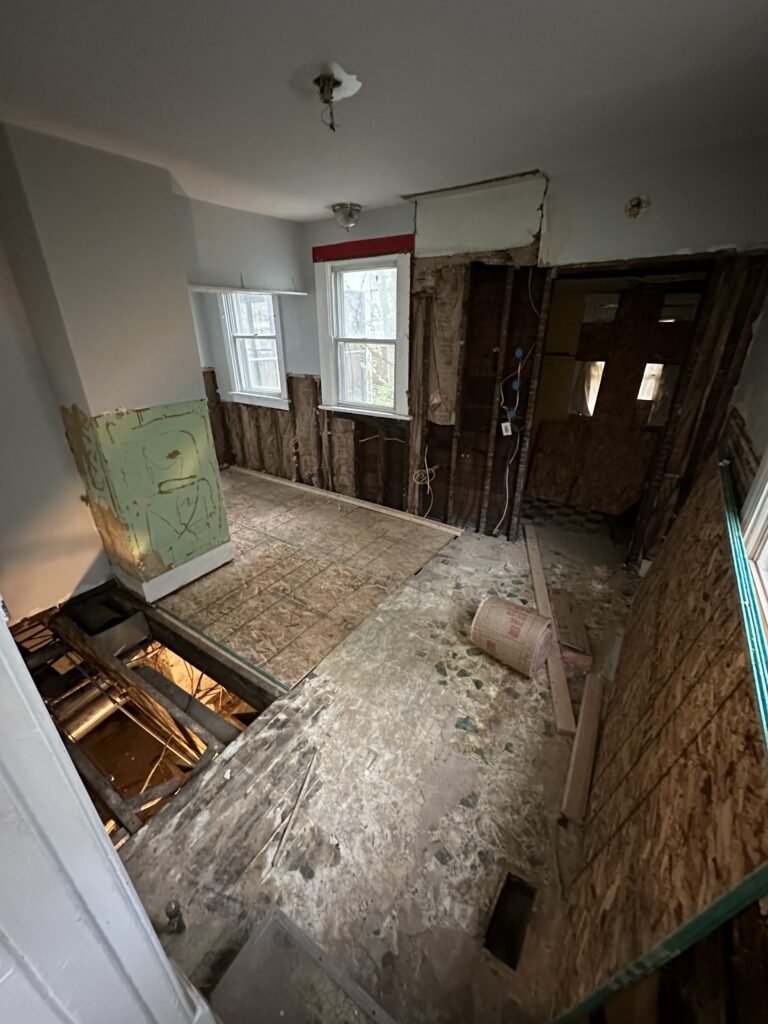
- Glued and fastened a new tongue-and-groove Douglas fir subfloor across the entire room
- Topped it with lauan underlayment for a smooth, flat surface under the finished floor
The Result
The kitchen now sits on a solid, level floor from wall to wall. No soft spots, no humps, and a clean base for whatever finish flooring the homeowner chooses.
Materials: tongue-and-groove Douglas fir subfloor, subfloor adhesive, lauan underlayment.
Project Photos


Floors soft, uneven or worn out?
We fix what’s underneath before anything new goes on top.